Create your first project
A project keeps every design, spreadsheet-like dataset, image, font, collaborator, and export for one game together.
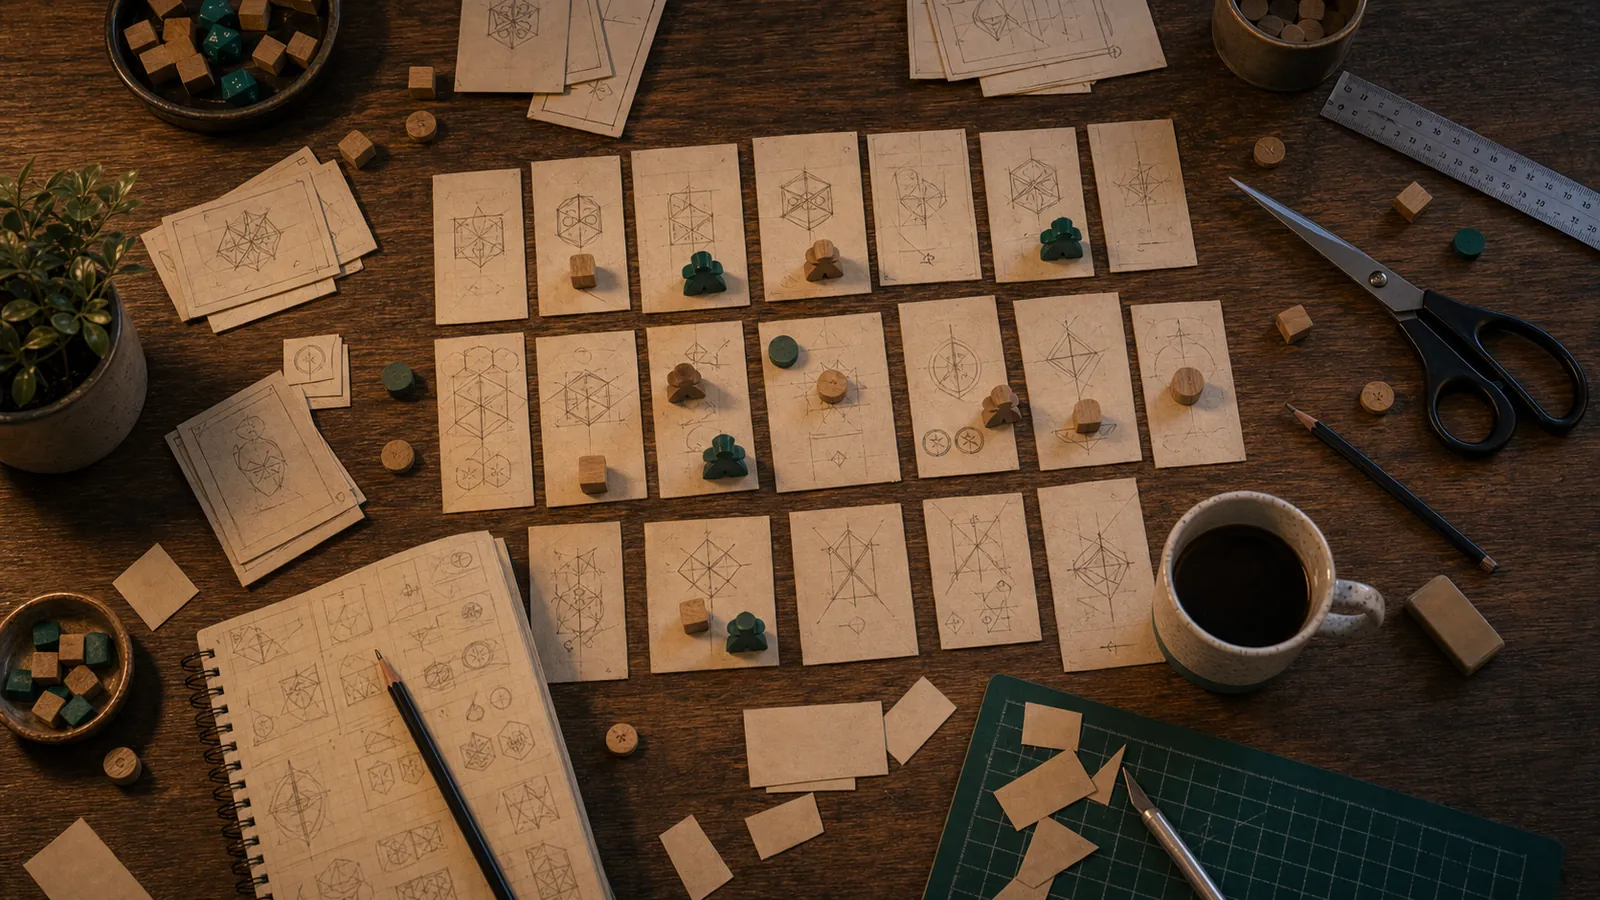 A project cover helps a growing library stay easy to scan.
1. Create the project
- Open Studio.
- Choose New project.
- Give the project a short name that the whole team will recognise.
- Open the project to enter its workspace.
The name can change later. Avoid putting a version number in it; exports and design history already preserve meaningful points in the work.
2. Choose where to begin
Start in the place that matches what you already have:
- Designs when you know the size and visual structure of the piece.
- Datasets when the card list or spreadsheet already exists.
- Images when artwork needs organising before layout work.
- Scratch Pad when the idea is still loose and spatial.
There is no required order. A design can begin without data, and a dataset can exist before a design is ready to use it.
3. Set a useful cover
A project cover appears in the Studio library and project sidebar. You can use an image or a dedicated cover design. Keep important words and artwork away from the edges because the cover is cropped at several screen sizes.
4. Make a small proof
Create one design and one or two rows of data. Preview those pieces before importing the whole deck. This confirms the dimensions, text size, image crop, and data bindings while changes are still inexpensive.
Import creates a project from the archive. Check that you are in the right account and keep the original archive until the imported project has been inspected.
Next: Take a tour of the workspace or design your first card.